Sparkling Coils, Cooler Air: Your Guide to AC Maintenance
September 12, 2025
Condenser coil cleaning is a simple yet powerful step to keep your air conditioner running smoothly and efficiently. If you're looking for a quick overview of the cleaning process, here's what's generally involved:
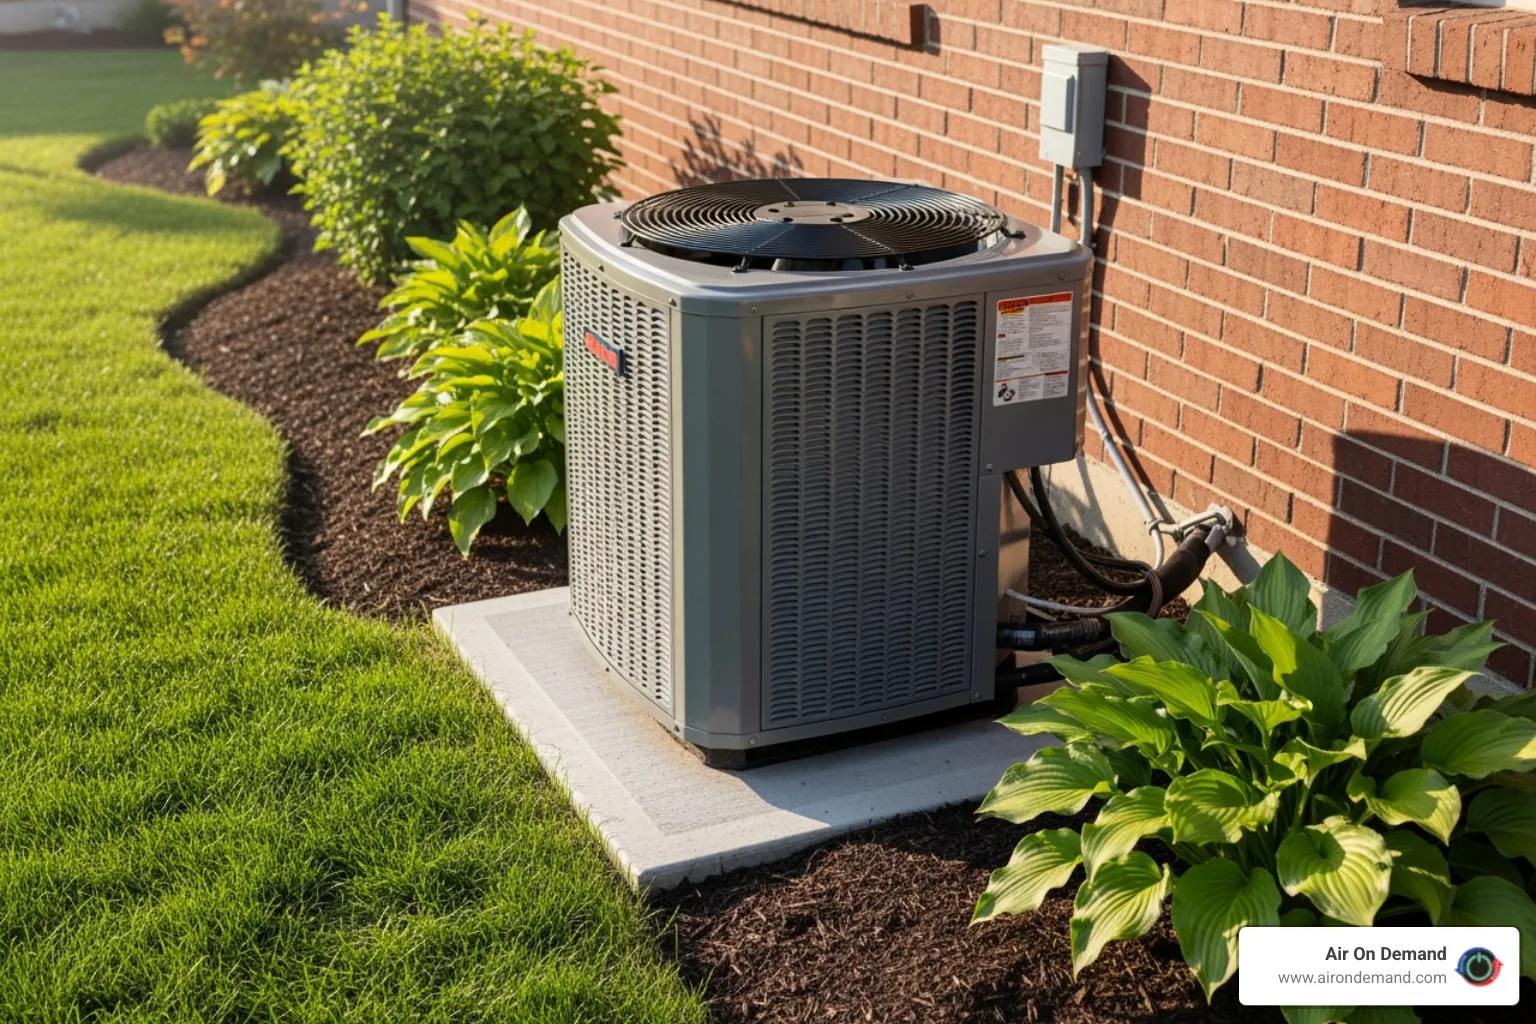
Your air conditioner keeps your home cool by moving heat from inside to the outside through its condenser coils, located in your outdoor AC unit. These coils release the collected heat into the air.
Over time, debris builds up on these coils, acting like a blanket that traps heat. This forces your AC to work much harder, reducing its efficiency by up to 30% and increasing energy consumption by as much as 37%! Keeping these coils clean is vital for peak performance, preventing system strain, and avoiding high energy bills.

When your home in Miami feels lukewarm despite the AC running overtime, the culprit is often dirty condenser coils. Your AC is a heat-moving machine. Indoor evaporator coils absorb heat, which is then transferred via refrigerant to the outdoor condenser coils to be released. When condenser coils are clean, this heat exchange process is efficient. But when clogged with dirt, your AC system has to work much harder to push that heat out, leading to unwelcome consequences.
The most immediate impact is on your energy bills. Inefficient coils make your system run longer and harder, increasing energy consumption by up to 37%. In a place like Florida, this adds up fast.
This system strain also damages internal components, especially the compressor—the heart of your AC. The extra workload can lead to compressor failure, one of the most expensive AC repairs, often costing more than half the price of a new unit.
Dirty coils also mean reduced cooling capacity, leaving your home stuffy even when the AC runs constantly. While outdoor coils don't directly circulate air into your home, a struggling AC system can create pressure imbalances that affect overall indoor air quality and filtration.

Your AC will send distress signals when it needs help. Here's what to look for:
Most experts recommend annual cleaning as a bare minimum, ideally before peak cooling season. This helps maintain up to 95% of its original efficiency.
However, more frequent condenser coil cleaning is needed in certain conditions:
The bottom line? If it looks dirty, clean it. Your wallet and your comfort will thank you.
Deciding between DIY and professional condenser coil cleaning depends on your comfort level, your unit's condition, and your priorities. DIY cleaning can save money upfront, costing only the price of tools and cleaner, and taking 1-2 hours. Professional cleaning costs more but saves you time and provides expertise. Technicians arrive with specialized equipment and can spot problems you might miss.
| Feature | DIY Cleaning | Professional Cleaning |
|---|---|---|
| Cost | Low (cost of tools and cleaner) | Moderate to High (service fee) |
| Time | 1-2 hours (initial learning curve) | Less than 1 hour (for you, the expert does the work!) |
| Tools | Basic household items, specialized cleaner/comb | Specialized equipment, powerful cleaners, diagnostic tools |
| Expertise | Basic mechanical aptitude, attention to detail | Certified technician, in-depth system knowledge, experience |
| Risk | Potential for damage, injury, voided warranty | Minimal (when hiring reputable professionals) |
Safety is paramount. Your AC unit has electrical components that pose a shock hazard. Always turn off power at three places: the thermostat, the outdoor disconnect switch, and the main breaker box. Electricity and water are a deadly combination.
Beyond electrical hazards, you risk damaging the delicate coil fins, which restricts airflow. Using the wrong chemicals can corrode coils, leading to refrigerant leaks. Getting water into electrical parts can cause short circuits. A reputable professional minimizes these risks with proper training and equipment.
Improper DIY maintenance can void your AC unit's warranty, while professional service aligns with manufacturer recommendations. Daikin products, for example, come with valuable warranties like a 12-year parts warranty and the Comfort Promise. Professional service ensures compliance and protects this investment.
The bottom line? DIY is fine for routine condenser coil cleaning if you're comfortable with the risks and safety steps. For heavily soiled coils, or if you want the peace of mind of professional expertise, calling a certified technician is the smart choice. They often catch small problems before they become expensive disasters.
If you’ve decided to tackle condenser coil cleaning yourself, this guide will walk you through the process. Remember to prioritize safety above all else!

Before you start, gather your supplies to make the process smoother and safer. You'll need:
This is the most critical safety step. Never skip it. First, turn off your thermostat. Next, find the outdoor disconnect switch, usually a small box near the unit, and flip it to "Off". For maximum safety, go to your main breaker box and flip the AC breaker to "Off". Double-check that the unit is completely silent before proceeding.
Start by clearing leaves, grass, and other debris from around the unit, leaving at least two feet of clear space for airflow. Next, use your screwdriver to remove the screws holding the top grille and side panels. Be gentle when lifting the top section, especially if the fan is attached, to avoid straining wires. Before you start, take photos with your phone to help with reassembly. If needed, cover the fan motor and exposed electrical parts with plastic to protect them from water.
Now for the main event of your condenser coil cleaning.

First, pre-rinse the coils with your garden hose on a gentle spray setting to wash away loose dirt. If possible, spray from the inside out to push debris away from the unit's core.
Next, apply your foaming cleaner. Follow the product’s instructions, applying it evenly. Foaming cleaners will expand to lift dirt from the coils.
Let the cleaner dwell for the recommended time, typically 5-10 minutes. You'll see the foam absorb the dirt.
Once the time is up, rinse the coils thoroughly with gentle water pressure, working from the top down. Again, rinsing from the inside out is most effective. Never use a high-pressure washer, as it can bend the delicate fins.
Finally, inspect the coil fins. If any are bent, gently use your fin comb to straighten them. This simple step is crucial for maintaining good airflow.
You're almost done. First, allow the components to air-dry and remove any plastic coverings from electrical parts.
Next, reattach the panels, using the photos you took as a guide. Secure all screws firmly but don't overtighten.
Now, restore power. Go to your main breaker box and flip the AC breaker to "On," then do the same for the outdoor disconnect switch.
Finally, test the system. Set your thermostat to "Cool" and a low temperature. The unit should start smoothly, and the air from your vents should feel cooler and stronger. Congratulations, you've helped your AC run more efficiently!
Let's cover some pro tips on choosing the right cleaning solutions and understanding the risks of improper condenser coil cleaning.
You'll find several types of coil cleaner. Foaming cleaners are popular because they expand into tight spaces to lift out dirt. While some are "self-rinsing," a gentle rinse with a hose is always recommended. Non-acidic, alkaline-based cleaners are a great choice as they are safer for your coils and the surrounding lawn. Always check the label to ensure the product is designed for AC coils.
Avoid harsh household chemicals like bleach, ammonia, or strong degreasers. These can corrode the aluminum and copper components, leading to permanent damage and refrigerant leaks.
Doing this job incorrectly can cause more harm than good:
If you're ever in doubt, or if the coils are severely dirty, it's always smartest to call a professional. Our certified technicians at Air On Demand have the tools and expertise to do the job safely and effectively, potentially saving you from bigger headaches later.
Here are some of the most common questions we get about condenser coil cleaning, with answers to help you understand why this small task has such a big impact.
Yes, absolutely! Dirty coils act like a blanket, trapping heat and preventing your AC from releasing it outside. Cleaning them removes this barrier, allowing the heat exchange process to work efficiently. The result is improved cooling capacity and noticeably colder air from your vents.
A gentle spray with a garden hose can rinse off light dust, but it's not a substitute for a deep clean with a specialized cleaner. If you do rinse it, use a gentle spray only—high pressure will bend the delicate coil fins and restrict airflow. Most importantly, the power must be off at the thermostat, outdoor disconnect, and main breaker. A quick rinse won't break down stubborn grime like a proper coil cleaner will.
Neglecting your condenser coil cleaning leads to a cascade of problems. You'll experience:
Neglecting this maintenance will shorten your AC's lifespan, forcing a premature replacement.
Taking care of your air conditioner's condenser coil cleaning is one of the most impactful things you can do for your home's comfort and your wallet. This simple maintenance task can lower your energy bills, improve cooling performance, and extend your system's life by preventing costly repairs. It's a vital part of routine maintenance that pays dividends.
We know DIY isn't for everyone. If you're not comfortable with the electrical aspects or simply prefer to leave it to the experts, our team at Air On Demand is here to help. We specialize in Daikin products and know how to keep your system running at peak performance. With our convenient online booking, fast service, and real-time updates, getting professional maintenance is seamless.
If you're in Miami, Cutler Bay, or South Miami and want the peace of mind that comes with expert care, schedule your professional HVAC maintenance today. Let us handle the dirty work so you can stay cool and comfortable.